Tuesday 16 September 2014
Saturday 13 September 2014
FTP Installation
FileZilla Server Installation
Step 1
Download Filezilla Server setup file
from following.
Click the marked(Download FileZilla
Server) button
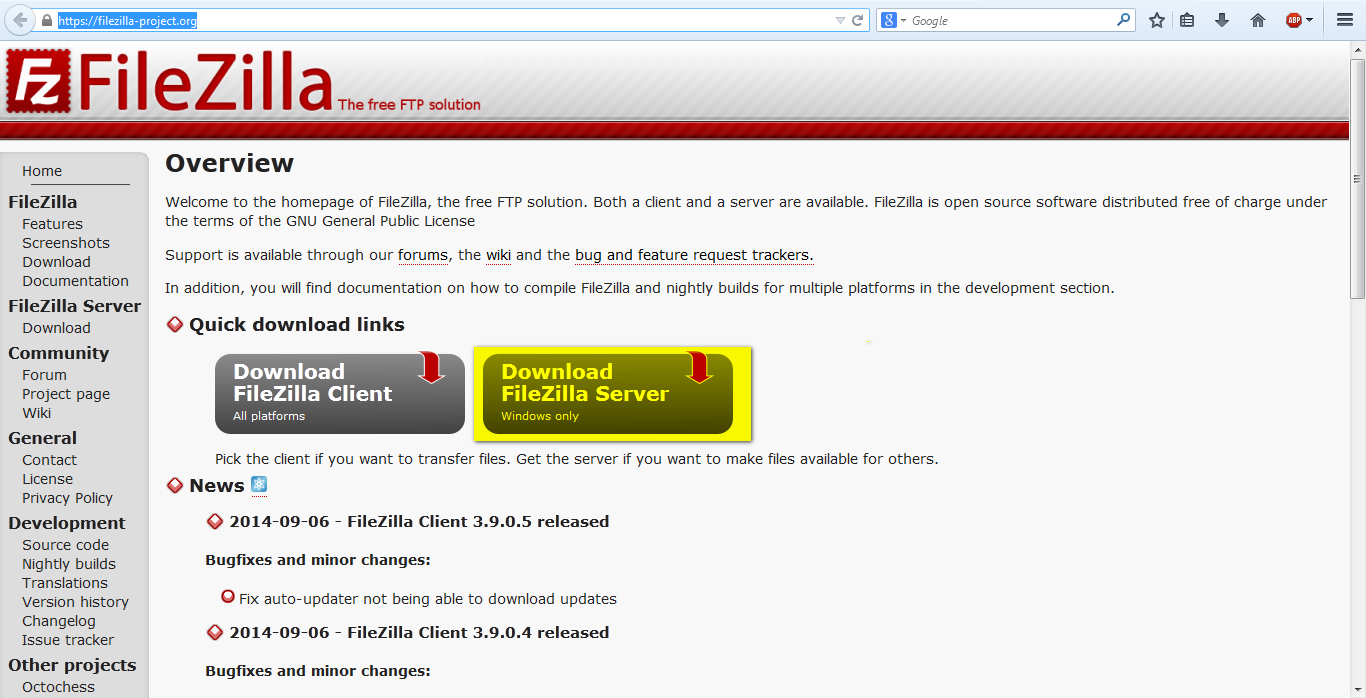

Ø Then save the file. Choose your
location.
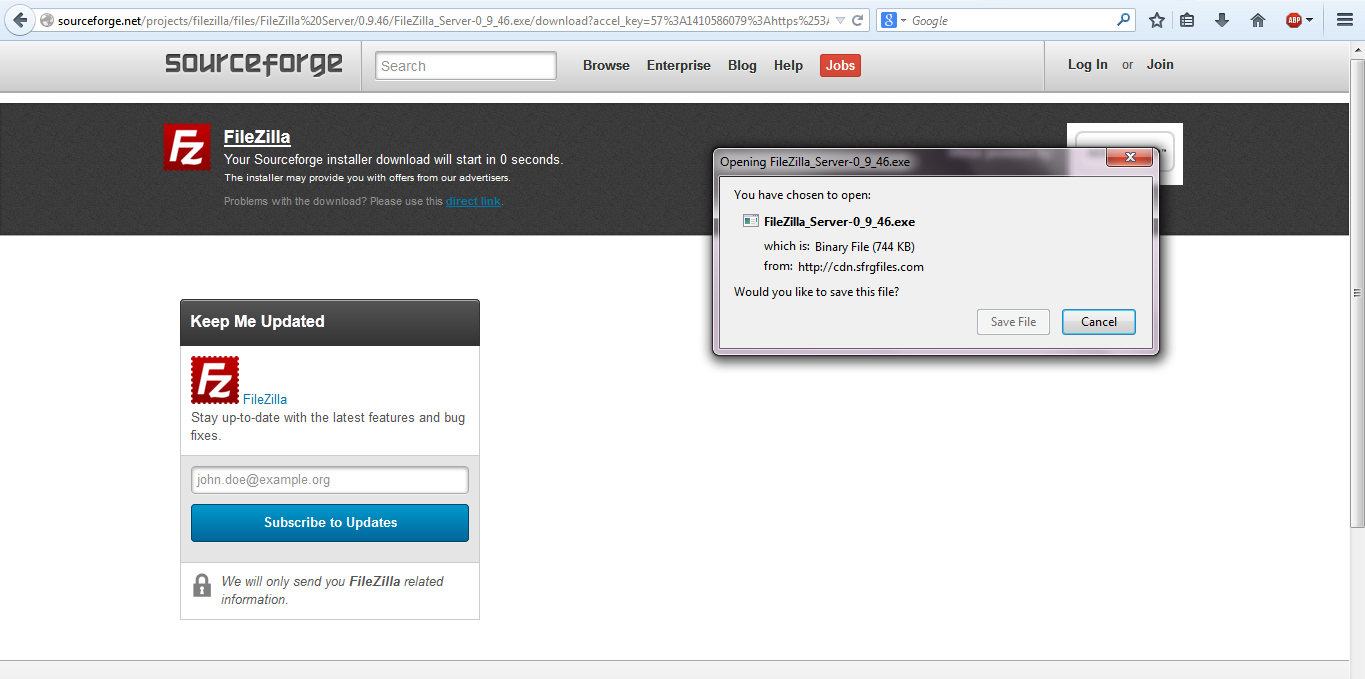
Download Install FileZilla server
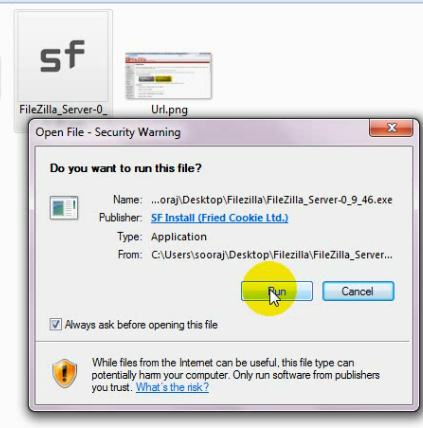
Ø Right click on setup file and choose
Run as Administrator. Choose run button then “Yes” on next window.
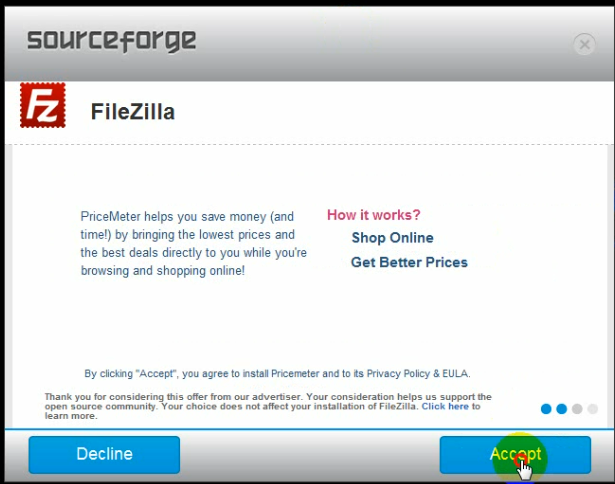
Ø Click the accept button.
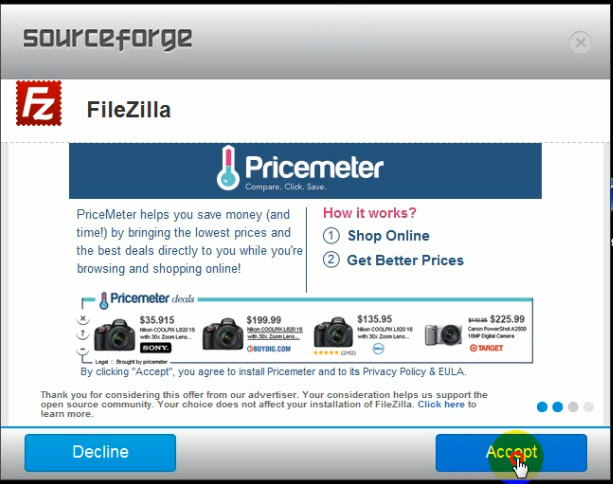
Ø Again click the accept button.
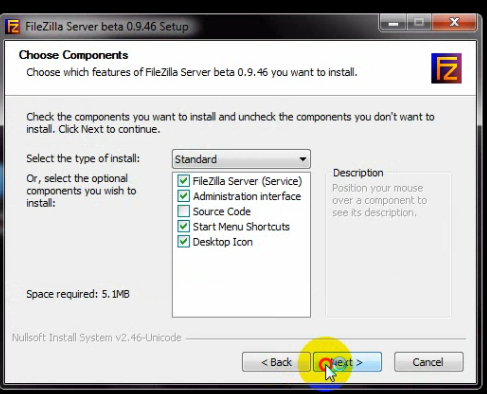
Filezilla server installation
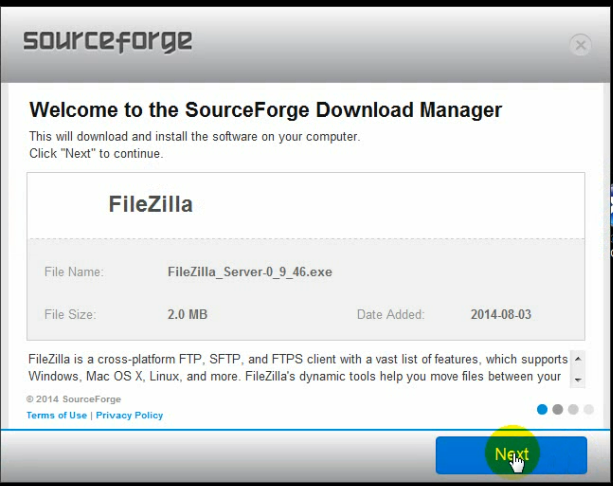
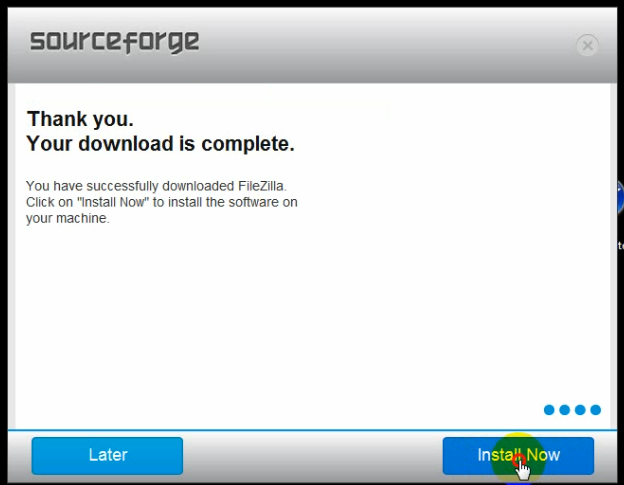
Ø After finish the downloading click
the install now button.
Ø Installation Started. Click the next
button
Ø Choose your location and click the
next button.
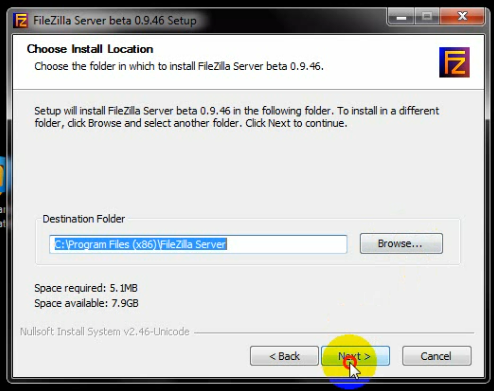
Ø Click the next button.
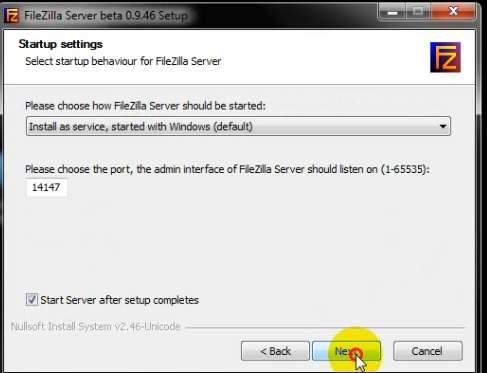
Ø Click the install button.

Ø If view following installation
completion window click the close button.

Step 4
Start Filezilla Server
Start Filezilla Server
Ø
Click to open filezilla sercver.

Ø Click OK on the following window.

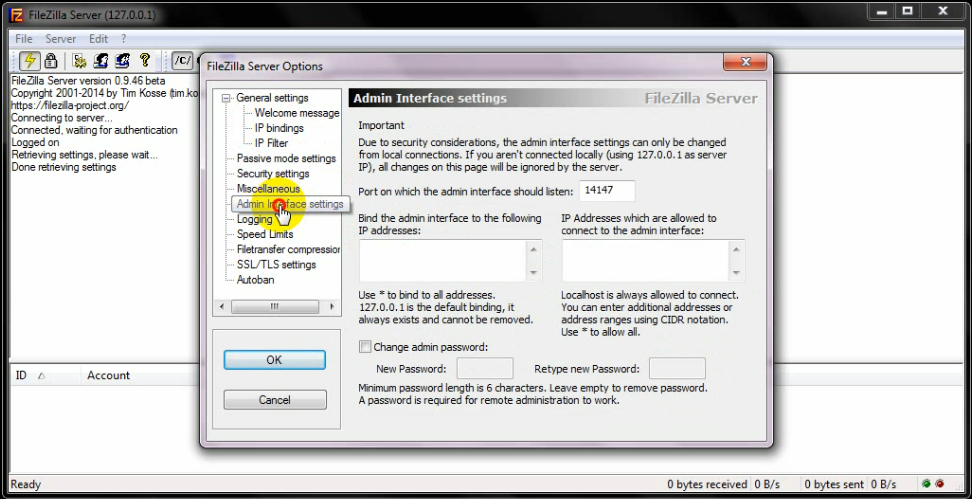
Ø Filezilla server started. Following
window click the Edit from menu bar -->Settings button

Ø On the following window choose the “Admin
interface settings” for give the password. Select the “Change admin password”
check box and give the password.

Step 5
Group and User Add
Group and User Add
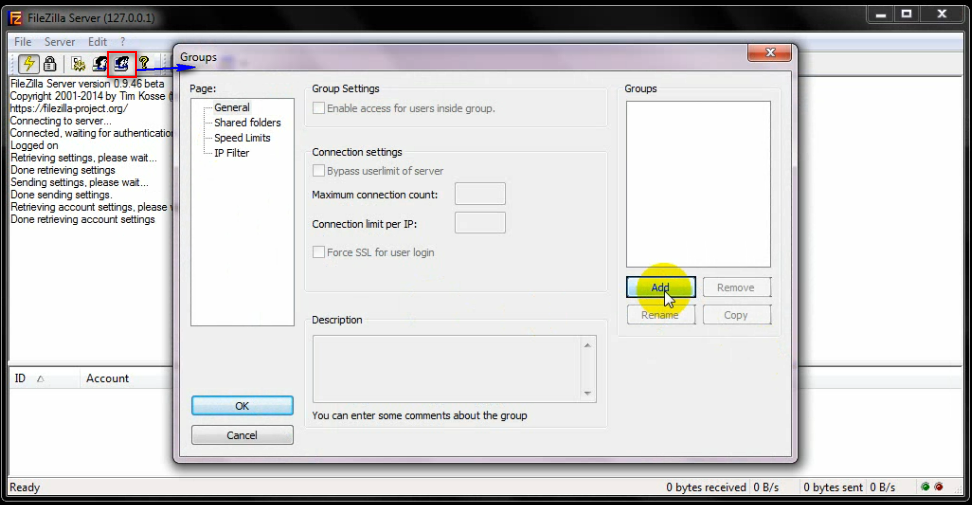
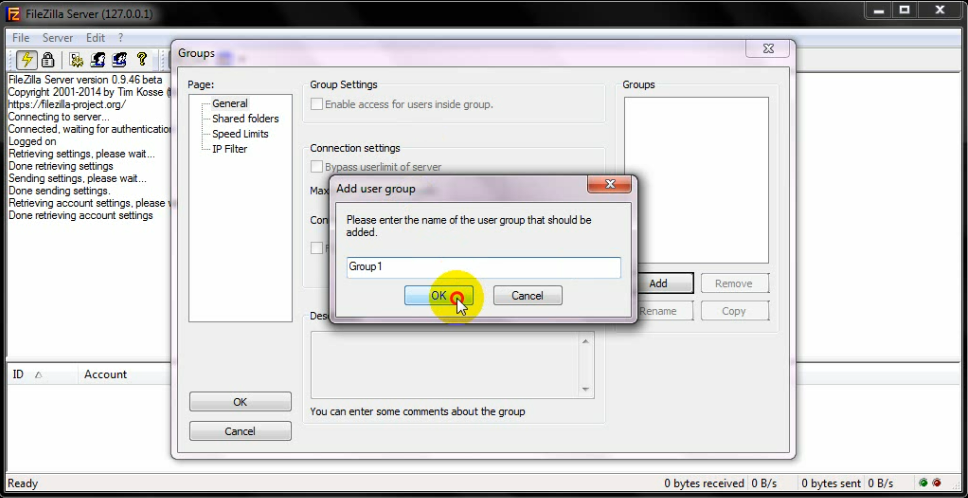
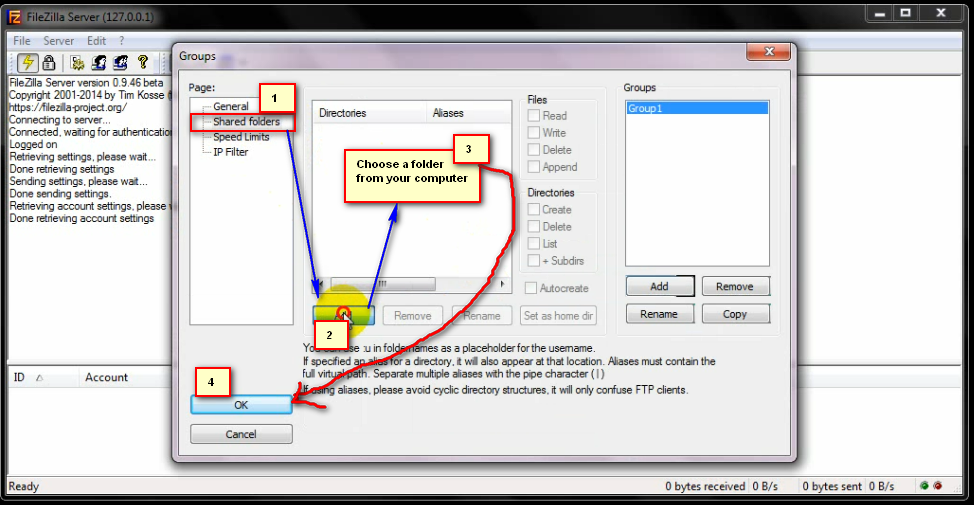
Add Group
Ø
Click the group icon and click the
add button for add a new group.
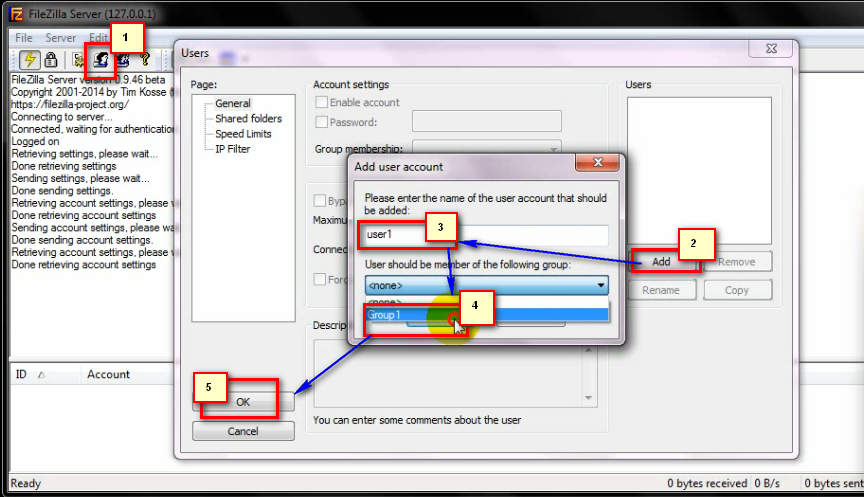
Ø Select the user icon from sub menu bar Add--(username)--Select group--OK.
Step 6
Testing
Testing
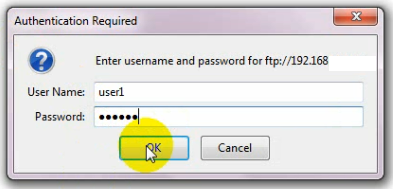
Ø Go to your browser and type the URL ftp:// [enter your machine’s IP here]

Ø On the following window give your username
and password, then click the OK button.
********** Thank You**********
Subscribe to:
Posts (Atom)